A Guide to Printing Hot Stamped Business Card
A Guide to Printing Hot Stamped Business Card
Steps to Achieving a Stunning Hot Stamped Business Card Design
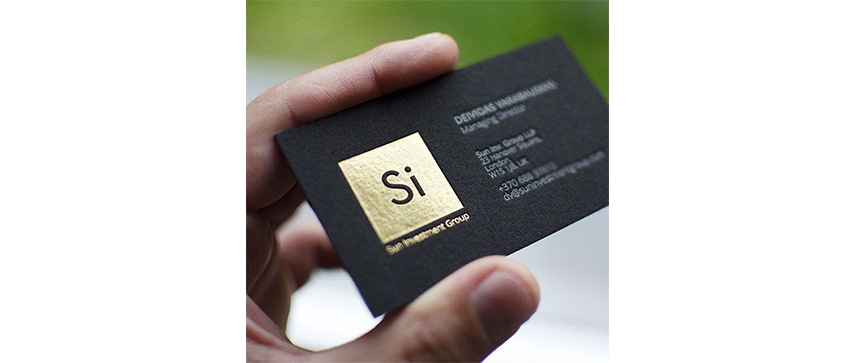
Hot stamping is a printing process that uses heat and pressure to transfer a metallic foil onto a substrate. This process is often used to create business cards with a high-quality, professional appearance.
The metallic foil gives the business cards a luxurious look and feel. It is also very durable, so your business cards will look great for years to come.
Hot stamping can be used to add a touch of elegance to any business card design. It is a popular choice for businesses that want to make a lasting impression on their customers.
Here are some of the benefits of hot stamping business cards:
- High-quality appearance: Hot stamped business cards have a high-quality, professional appearance. The metallic foil gives the business cards a luxurious look and feel.
- Durability: Hot stamped business cards are very durable. The foil is heat-resistant and scratch-resistant, so your business cards will look great for years to come.
- Eye-catching: Hot stamped business cards are very eye-catching. The metallic foil will help your business cards stand out from the crowd.
If you are looking for a way to create business cards that are high-quality, durable, and eye-catching, then hot stamping is a great option.
How to Set Up Your Artwork for Hot Stamping
Step 1
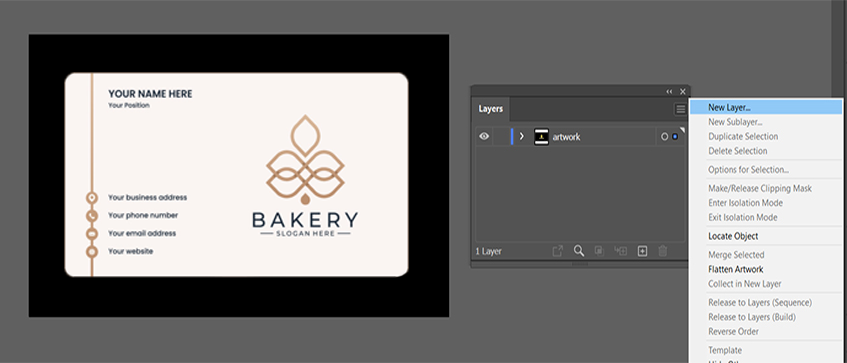
- Open your business card design in Adobe Illustrator.
- Go to Window > Layers to open the Layers panel.
- Select the current artwork layer and rename it to "artwork".
- Click on the Create New Layer button at the top right of the Layers panel.
- Rename the new layer to "hot stamping".
- Make sure that the "hot stamping" layer is on top of the "artwork" layer.
Step 2
- Double-click on the "hot stamping" layer to rename it to "technical".
- Cut (Ctrl+X) the hot stamping elements from the "artwork" layer and paste them into the "technical" layer.
- Make sure that there are no duplicated hot stamping elements in the "artwork" layer.
- Save your business card design as a vector file.
Step 3
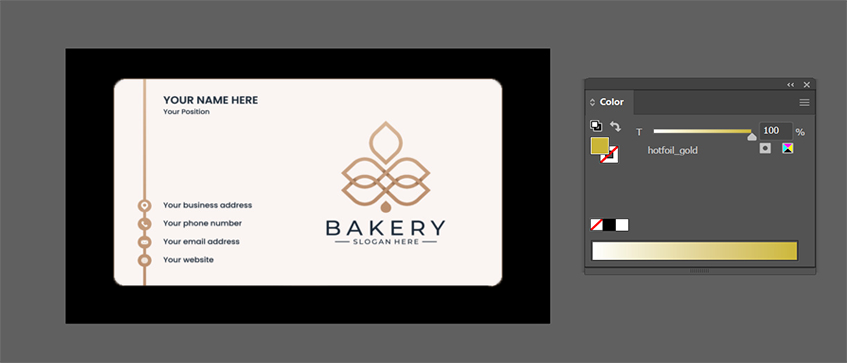
- Go to Window > Swatches to open the Swatches panel.
- Select the hot stamping elements in the "technical" layer.
- Click on the Add Color Swatch button at the bottom of the Swatches panel.
- In the Color Swatch Options dialog box, select the Pantone Coated color book and enter the Pantone color code for the hot stamping color.
- Click on the OK button.
- Repeat steps 3-5 for each hot stamping color.
Step 4

- Double-click on the hot stamping color swatch in the Swatches panel.
- In the Color Swatch Options dialog box, select the Spot Color option from the Color Type drop-down menu.
- Click on the OK button.
Step 5
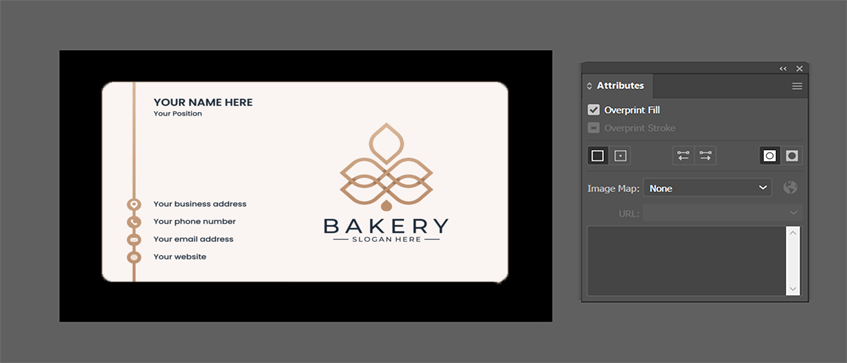
- Select the hot stamping elements in the "technical" layer.
- Go to Window > Attributes to open the Attributes panel.
- In the Attributes panel, check the Overprint Fill checkbox.
- Save your business card design as a vector file.
Step 6
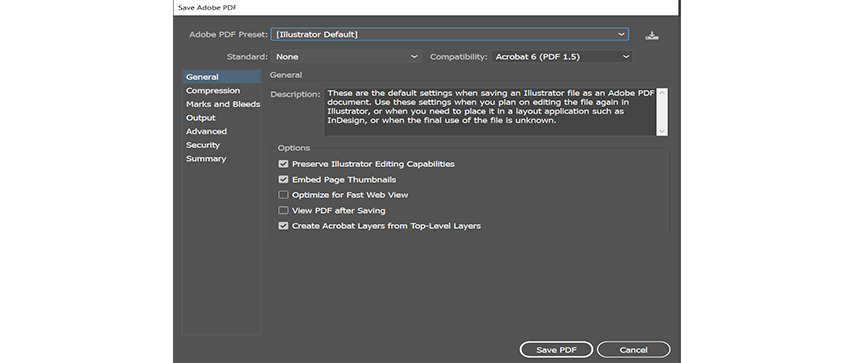
- Go to File > Save As.
- In the Save As dialog box, select Adobe PDF (Print) from the Format drop-down menu.
- In the Adobe PDF Preset drop-down menu, select Illustrator Default.
- Click on the Save button.
Finale
Congratulations, you are now officially done setting up your hot stamping file!
Just in case, we also have another summarized reference as shown as the image below. If the layers are set correctly, you should be on the right track. Checkout our website now.