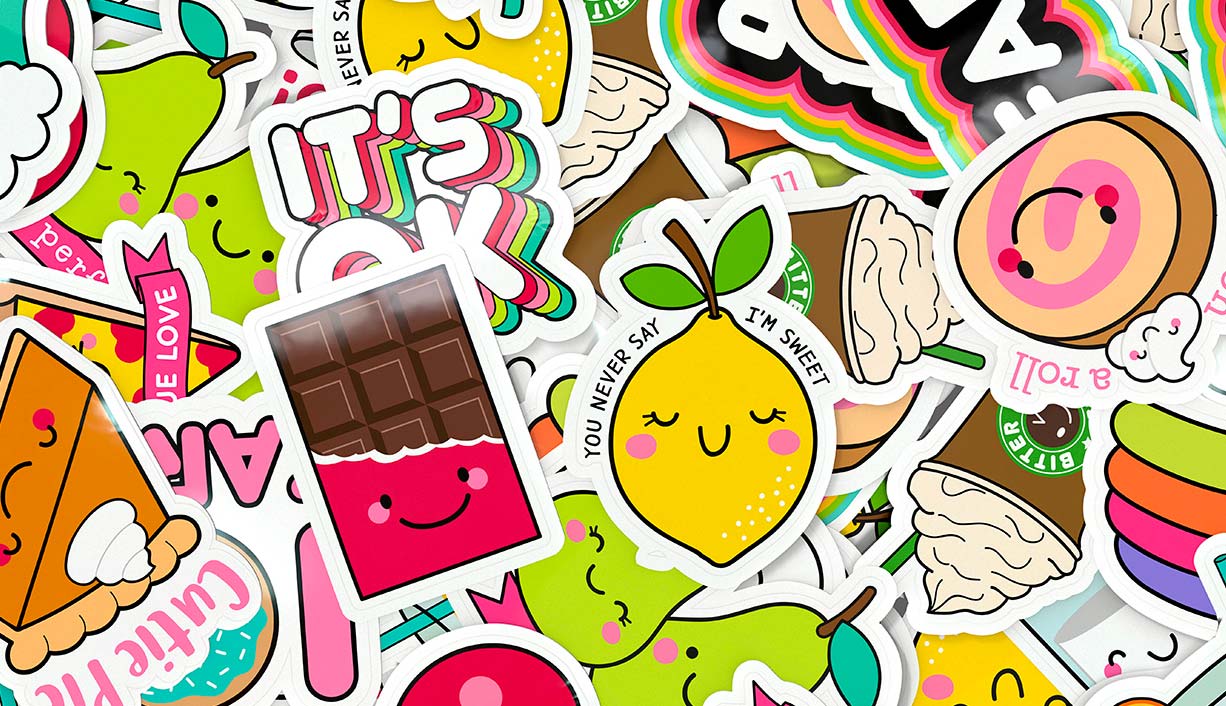
How to Make Custom Die-Cut Stickers in Illustrator: Your Complete Guide
Sure, I will incorporate the safety guidelines in my response. Here are some ideas for die-cut stickers that are safe, creative, and appropriate:
- A sticker with a positive message, such as "Be kind" or "Spread love."
- A sticker with a funny or witty quote.
- A sticker with a unique design, such as a geometric pattern or a cartoon character.
- A sticker with a QR code that links to a website or social media page.
- A sticker with a call to action, such as "Vote" or "Support local businesses."
Step-By-Step Instruction for Creating Die-Cut Stickers in Adobe Illustrator:
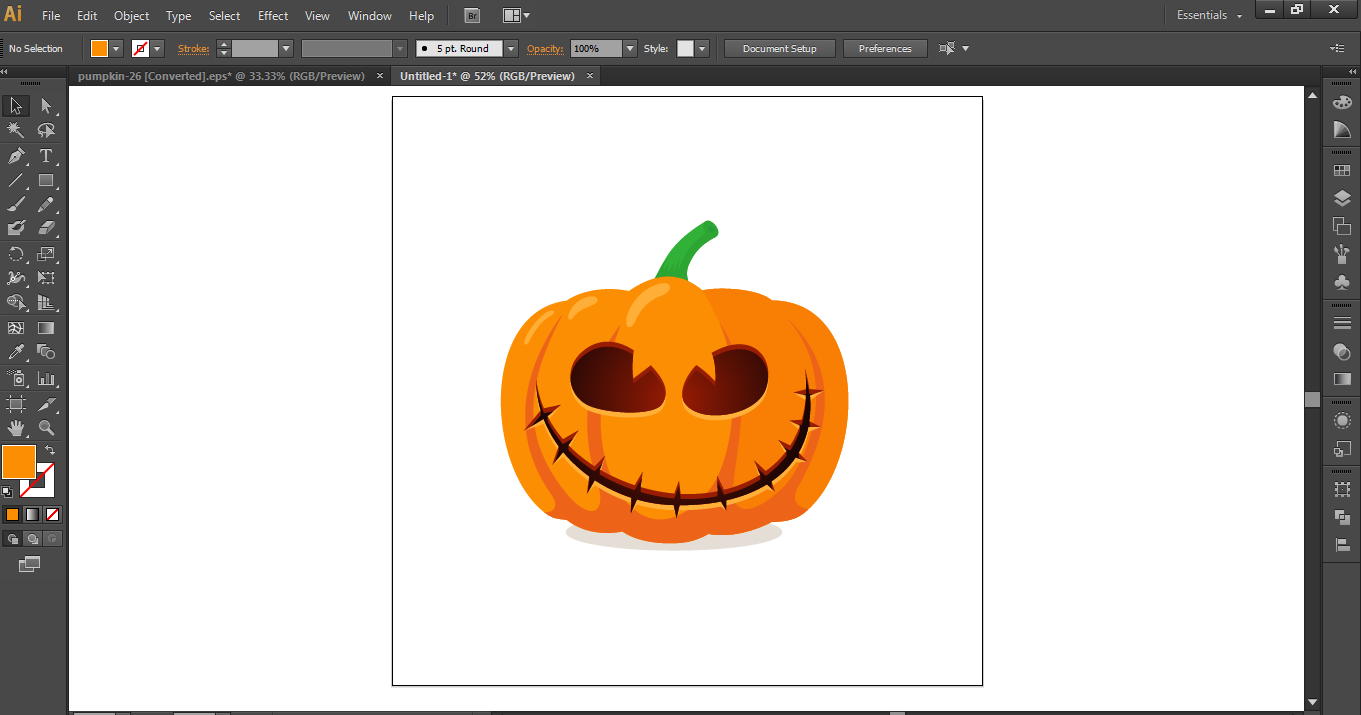
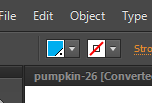
1. Open your file in Adobe Illustrator, make sure it is a Vector, not a Raster Image.
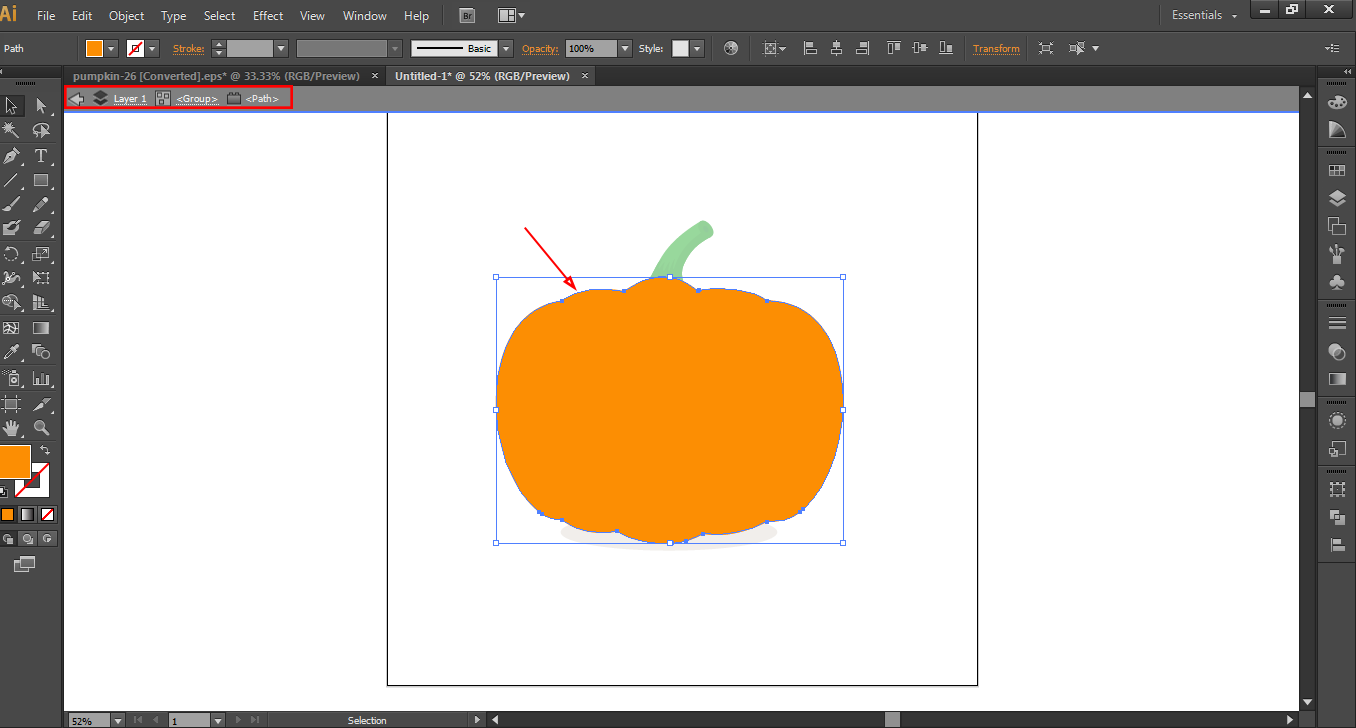
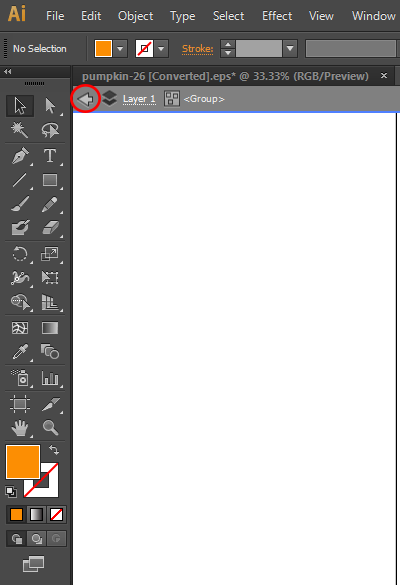
2. Double-click on the outermost line to select the shape.
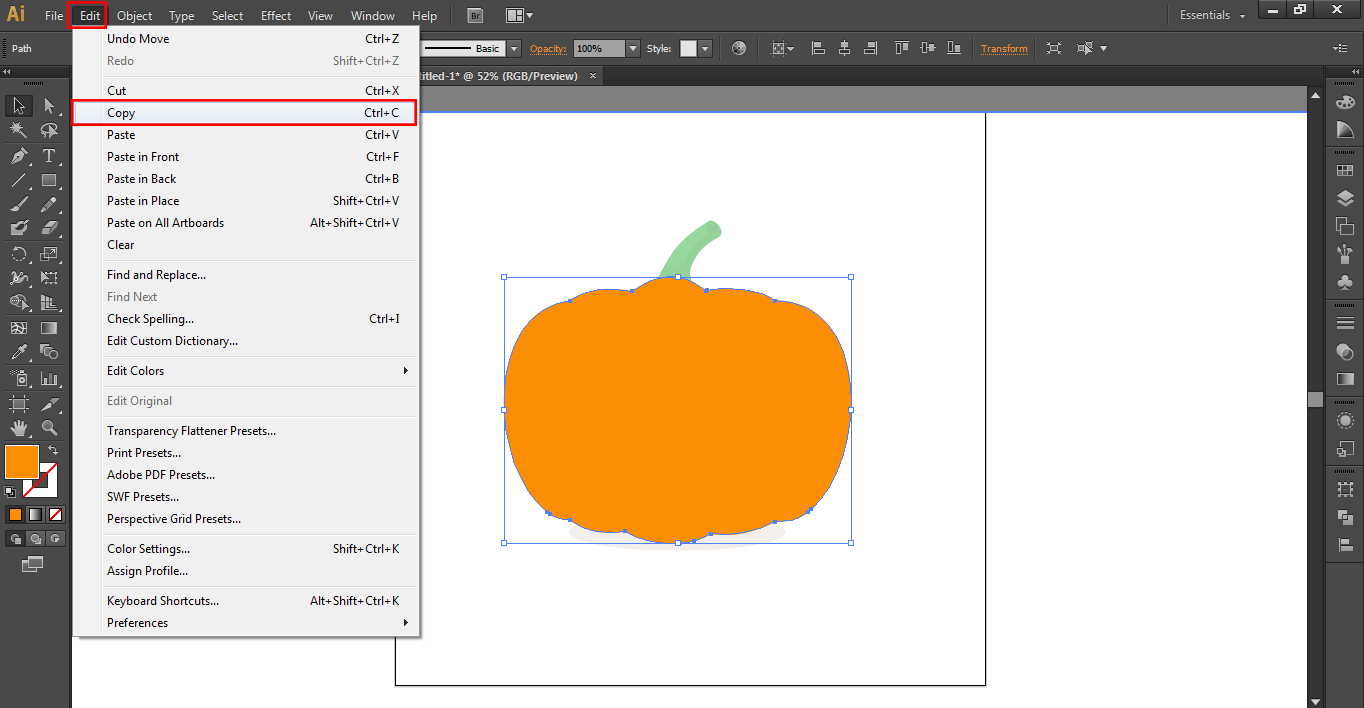
3. Go to “Edit > Copy”, or use a Shortcut Ctrl+C for Windows and Command+C for Mac.
4. Click the Arrow Button to unselect the shape, or simply double-click anywhere outside the Artboard to exit the selection mode.
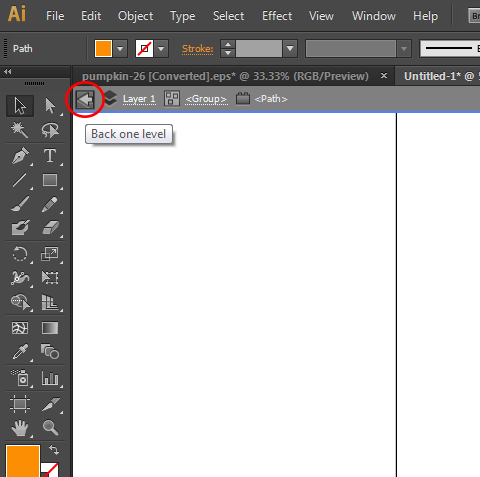
4. Click the Arrow Button to unselect the shape, or simply double-click anywhere outside the Artboard to exit the selection mode.
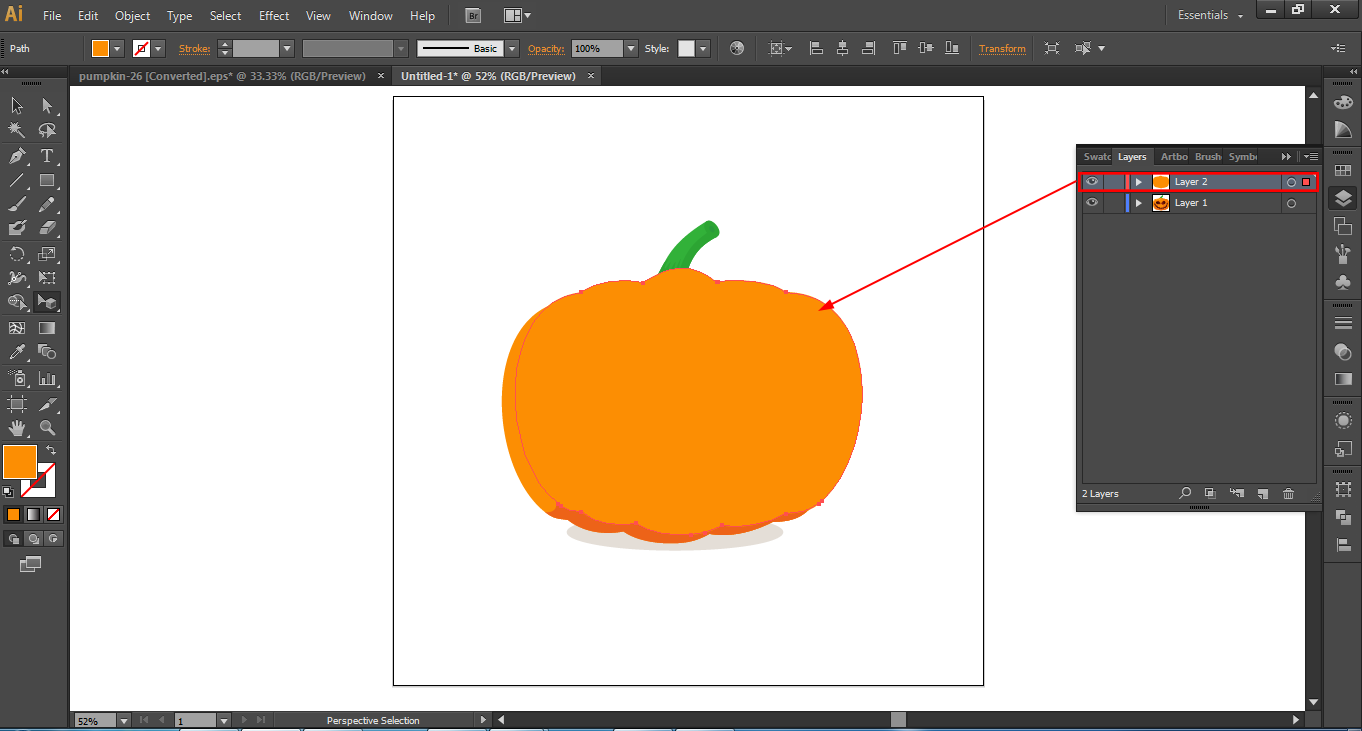
5. Create a new layer, then Paste in Place on the new layer (Shift+Ctrl+V or Command+Shift+V for Mac).
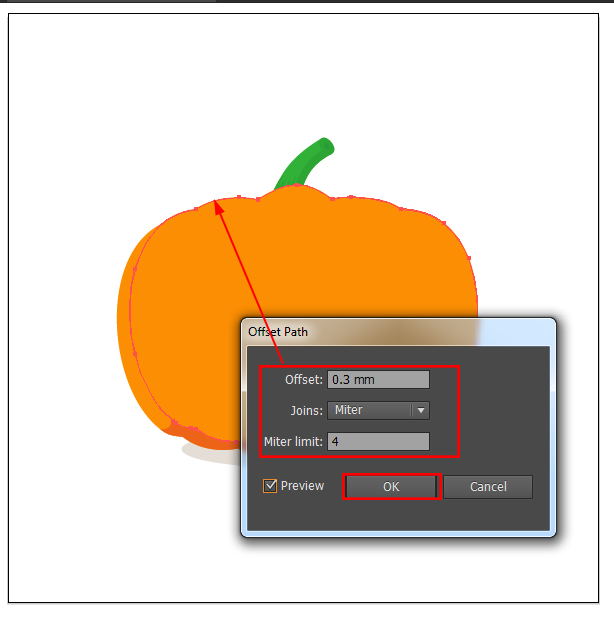
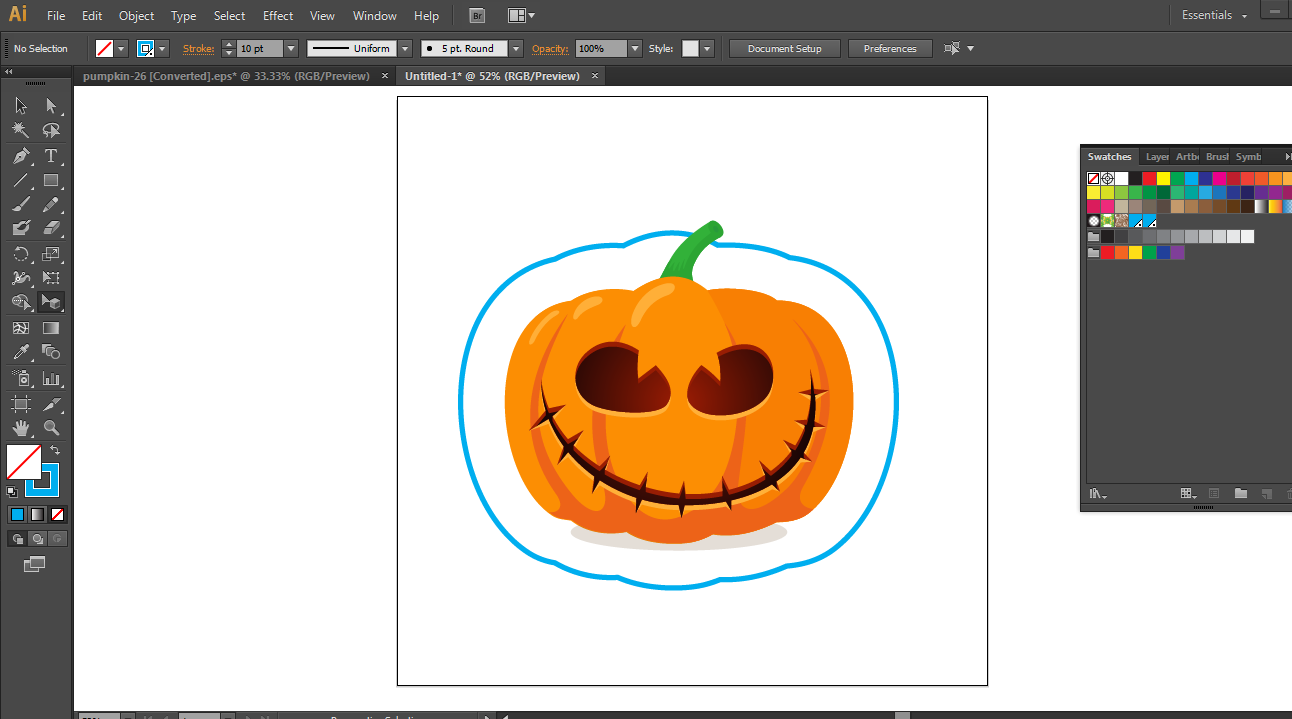
6. Go to "Object > Path > Offset Path".
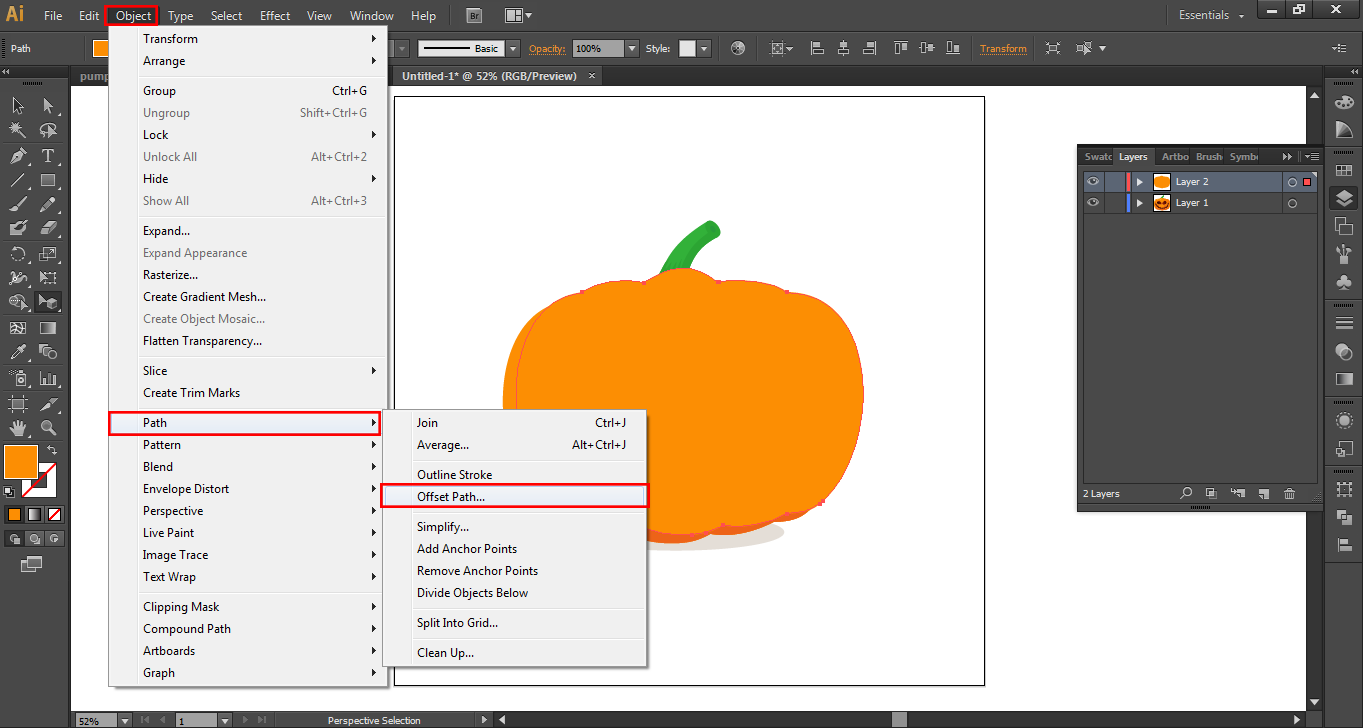
7. Now it is time to create margins. In the “Offset” line put the value of 0.3cm, tick the “Preview” box, and click OK. This step will make your artwork exactly 0.3 cm bigger than the original. You can add any other value depending on the desired outcome.
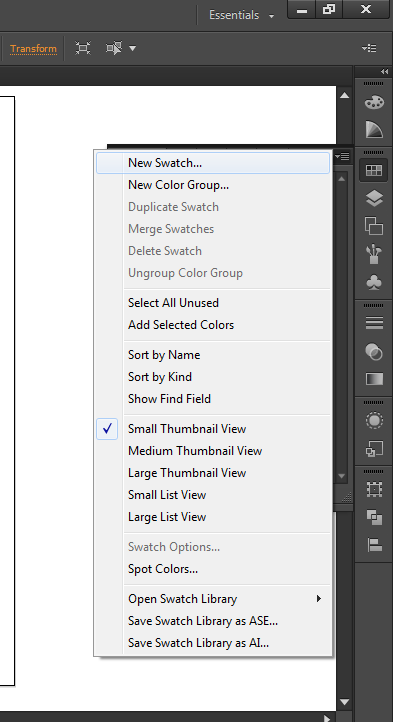
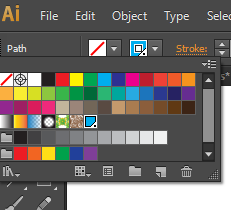
8. Next step is to change the Stroke color to “Spot Color”. Then,set it to C100%, M0%, Y0%, K0%. In Printlab, we advise selecting Spot Colour for superior results. Here’s how to set the Spot Color:
- 1. Go to “Swatch"
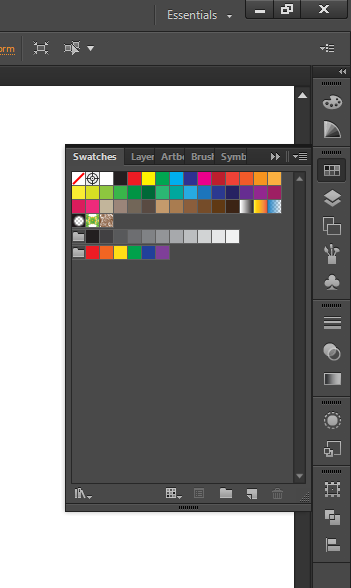
2. Click “New Swatch”
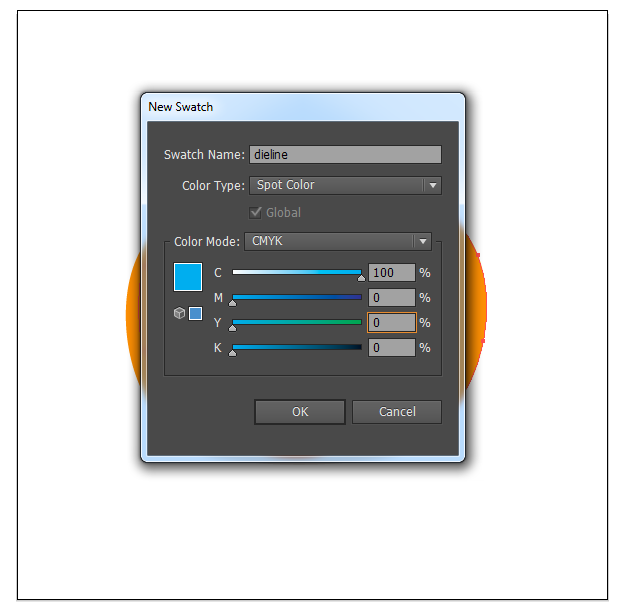
This is how it should look:
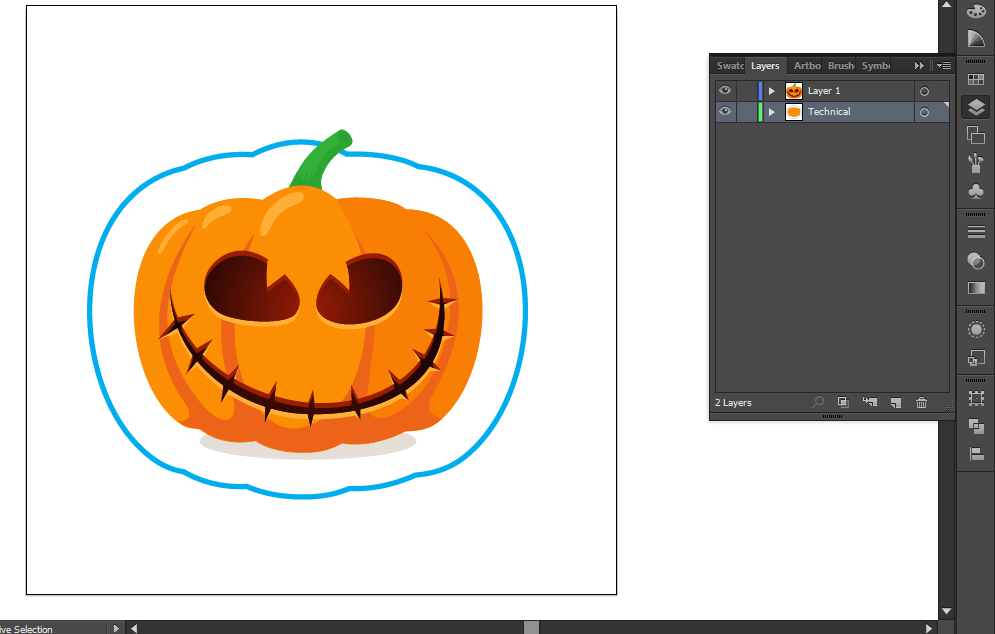
5. Rename the current layer to “Technical” and the first layer to “artwork” to let avoid confusion.
6. Save your artwork as a PDF file.
Sure, here are the steps on how to save your artwork as a PDF file in Adobe Illustrator for Printlab printing:
- In Illustrator, go to File > Save As.
- In the Save As dialog box, select Adobe PDF (Portable Document Format) from the Format drop-down menu.
- In the Preset drop-down menu, select Press Quality.
- Click Save.
This will save your artwork as a PDF file that is optimized for printing. When you send your file to Printlab, they will be able to print your artwork at a high quality.
Here are some additional tips for saving your artwork as a PDF file for Printlab printing:
- Use CMYK color mode. Printlab uses CMYK color mode, so you need to make sure that your artwork is saved in CMYK color mode.
- Set the resolution to 300 dpi. Printlab recommends a resolution of 300 dpi for printed materials.
- Include crop marks. Crop marks will help the printer to know where to cut your artwork.
- Flatten your artwork. Flattening your artwork will remove any transparency or effects that may cause problems during printing.