How to Design a Printable Desk Calendar in 6 Easy Steps
How to Design a Printable Desk Calendar in 6 Easy Steps
Creating a Custom Printable Desk Calendar: A Step-by-Step Guide
Sure, here is an introduction on how to design a printable desk calendar in Printlab:
A printable desk calendar is a great way to stay organized and productive. It can also be a great marketing tool for your business. Printlab makes it easy to design and print your own custom desk calendar.In this tutorial, we will walk you through the steps on how to design a printable desk calendar in Printlab. We will cover everything from choosing a template to adding unique elements and configuring the file.
By the end of this tutorial, you will be able to create a beautiful and professional-looking desk calendar that you can be proud of.
Here are some of the benefits of designing a printable desk calendar in Printlab:
- You can choose from a variety of templates to get you started.
- You can customize the calendar to match your brand or style.
- You can add your own unique elements, such as photos, graphics, or text.
- Printlab offers a variety of printing options, so you can choose the one that best suits your needs.
Step 1
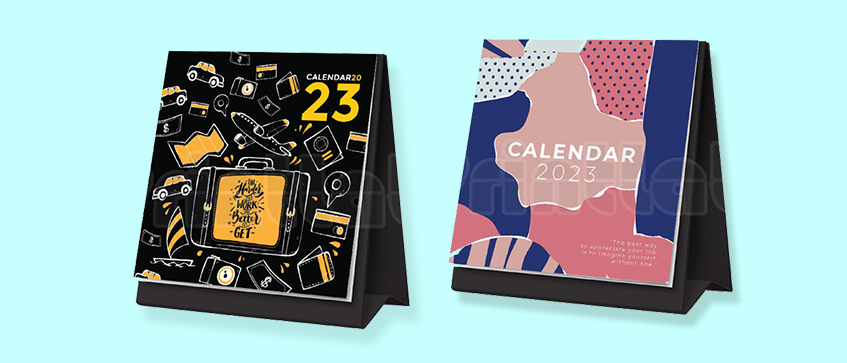
Choose a template. Printlab offers a wide variety of calendar templates to choose from, so you can find one that fits your style and needs. You can also customize a template to make it your own.
Step 2
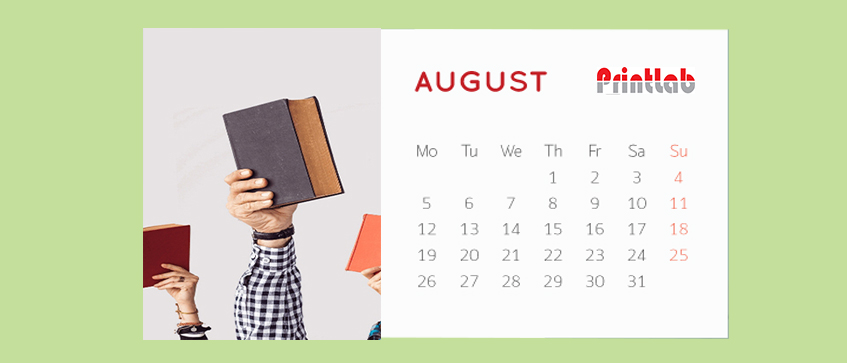
Customize the calendar table. Once you've chosen a template, you can customize the calendar table to match your design. You can change the font, size, and color of the text, as well as the background color. You can also add images or other graphics to the calendar table.

Step 3
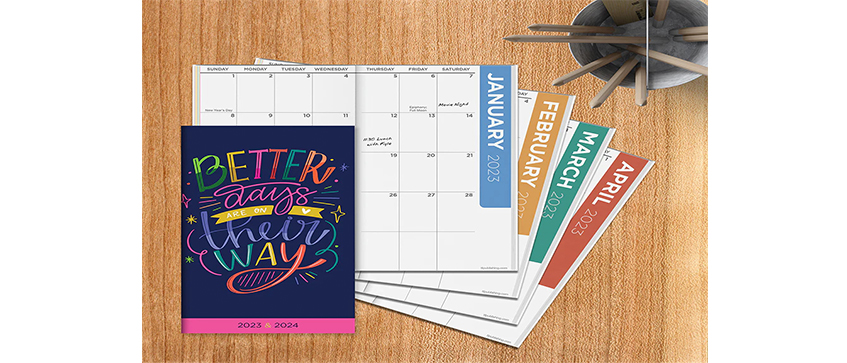
Add unique elements. To make your calendar stand out, you can add unique elements such as your company logo, slogan, or photos of your products or services. You can also add special events or holidays to the calendar.
Step 4
Spice things up with useful information. In addition to the standard calendar dates, you can also add other useful information to your calendar, such as weather forecasts, moon phases, or sports schedules. This will make your calendar more informative and helpful for your customers.
Step 5
Configure the file. Before you send your artwork for printing, you need to configure the file. This includes setting the page size, margins, and bleed. You should also make sure that your artwork is in CMYK color mode.
Step 6
Choose your printing options. Printlab offers a variety of printing options, so you can choose the one that best suits your needs. You can choose the paper type, finish, and quantity of calendars.
Here are some additional tips for designing a printable desk calendar:
- Keep your design simple and easy to read.
- Use a consistent color palette throughout the calendar.
- Use high-quality images or graphics.
- Proofread your calendar carefully before sending it for printing.